When Your Microwave Needs Repair
If your microwave stops heating food, don’t rush to call a technician. Many problems can be fixed by yourself. Before starting, make sure to unplug the appliance from the power source!
Common Microwave Faults
Common microwave malfunctions that often require no soldering include:
- Faulty high-voltage capacitor;
- Burnt high-voltage fuse;
- Malfunctioning high-voltage diode.
Let’s explore how to fix these issues.
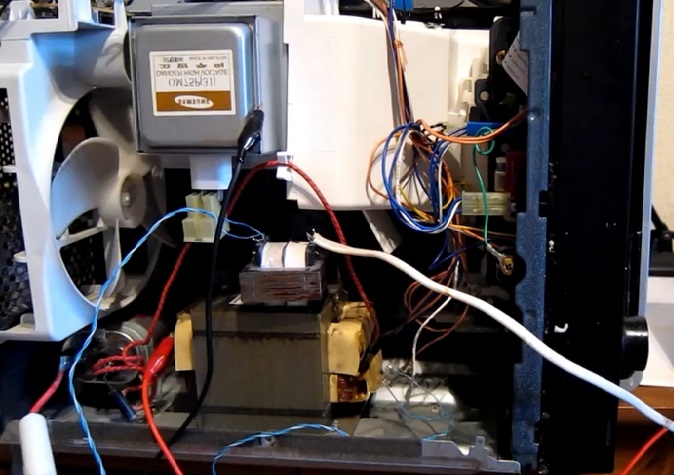
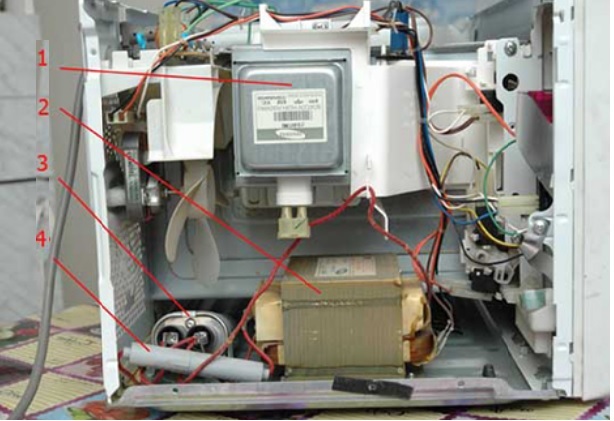
Microwave Structure
- Magnetron – Microwave wave generator;
- Transformer – Powers the magnetron;
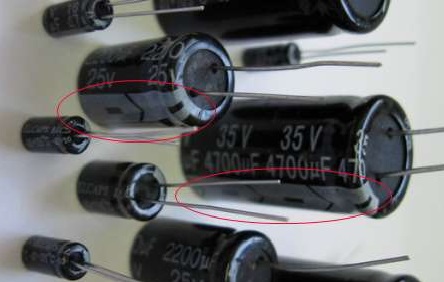
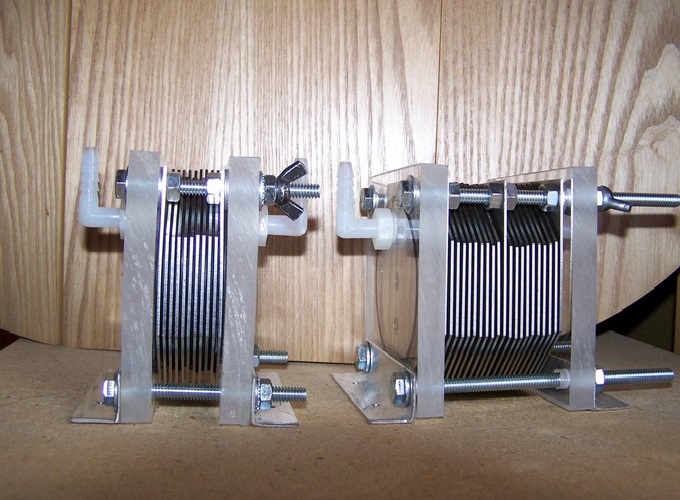
- Capacitor;
- High-voltage fuse;
- Rectifier diode.
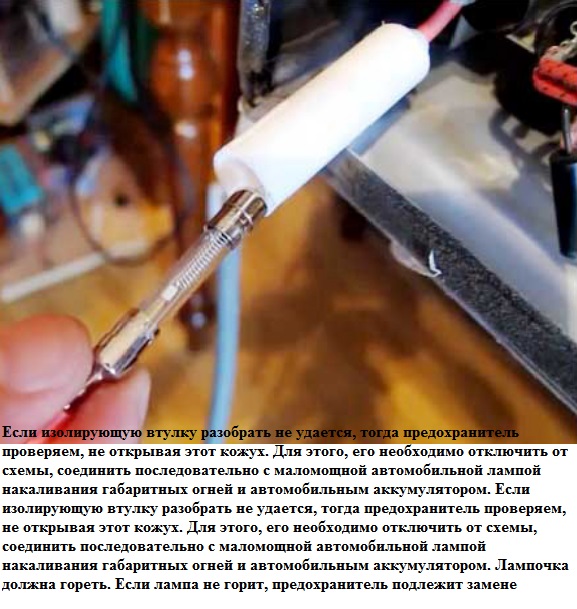
Replacing the Fuse
Start with the fuse. Check for an intact spring or filament. If they are broken, the fuse is blown and needs replacement.
Testing the Capacitor
To test the capacitor, connect it to a 10-20 watt bulb and plug it in. If the capacitor is functional, the bulb will glow dimly.
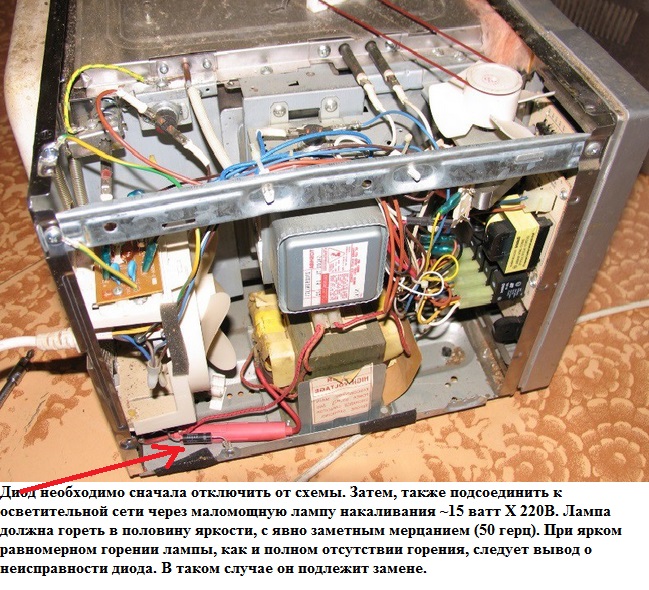
Testing and Replacing the Diode
Test the diode by connecting it to a light bulb. If the bulb is either very bright or doesn’t light up at all, the diode is faulty and should be replaced.
Important: If you are replacing the fuse, look for the root cause of the breakdown, as it is often related to the capacitor or diode malfunction.
Where to Buy Spare Parts
The necessary parts can be easily found in electronic stores, and their cost will be significantly lower than the repair cost at a service center.
Cost of Spare Parts
- Capacitor: 400-500 rubles;
- Diode: about 100 rubles;
- Fuse: 60-70 rubles.
DIY Microwave Repair: Video Guides
Watch these videos to learn more about DIY microwave repair: